
Get Started
How to Setup a Badgy Router
This guide will show you how to set up the Badgy Router with your hardwired internet connection at registration
Rental EquipmentHow To

Unpack the Router
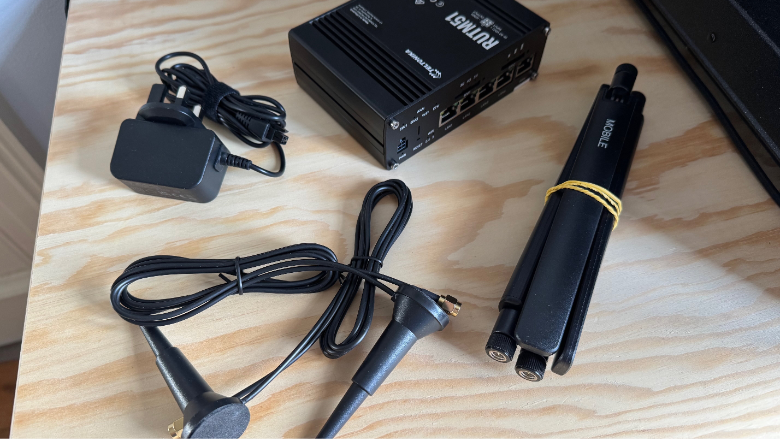
Package Contents
- Router
- Power Adapter
- 2 Wifi Antennas
- 4 Mobile Antennas
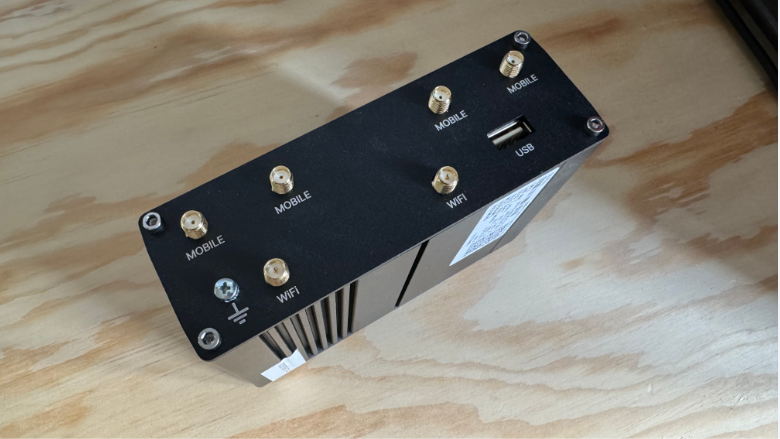
Attach Antennas
There are two types of antennas, mobile and wifi. Make sure you connect them to the correct port on the router.

Attach Mobile Antennas
Attach the four mobile antennas to the matching ports and angle up.
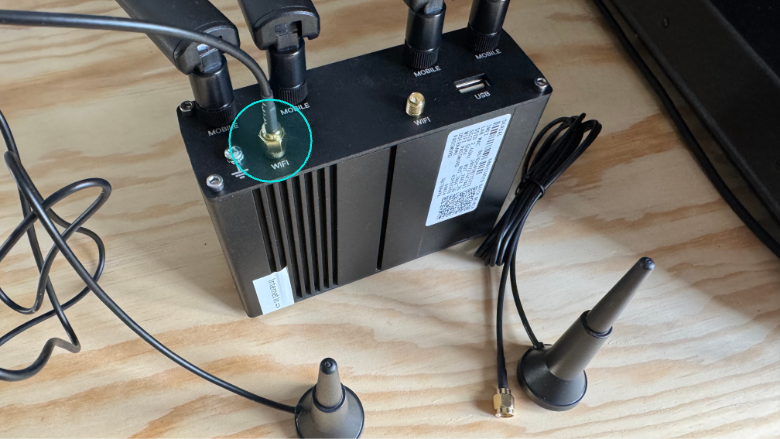
Attach WiFi Antennas
Attach the WiFi antennas. Place them in an area to best cover registration. The bases are magnetic.

Connect Internet
Connect your hardwire internet connection to the WAN port
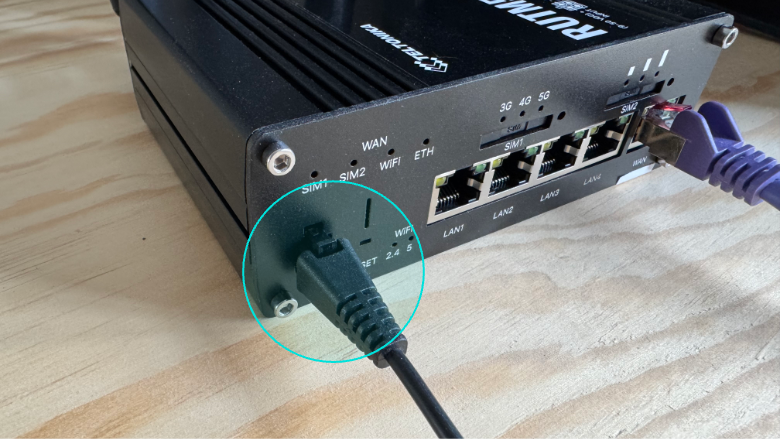
Connect Power
Connect the power cable
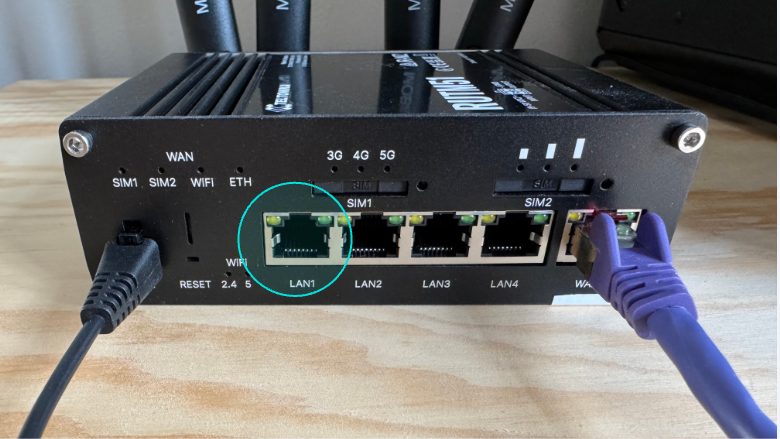
Connect Devices
After a few minutes the router should power up and you should see the Badgy wifi network. You can connect your registration devices to this network. The password is badgy2983
If you are using a Badgy Box please connect it via and ethernet cable to one of the LAN ports. You can use the other LAN ports for other devices like laptops.
More from our blog
Badgy makes badge printing easy, eco-friendly, and cost-effective.
Ready to take your event to the next level?
Ready to take your event to the next level?
Get Started for Free 